WARF is a Recon framework for the web application. It comprises different tools to perform information gathering on the target such as subdomain enumeration, directory Bruteforce, gathering all sorts of endpoints like Wayback URLs, JS URLs, endpoints from JS files, API/Secret keys, etc.
WARF is highly customizable and allows you to perform a full scan or individual scan on the target. It accumulates the results and shows them in a powerful DataTable through which you can narrow down your searches. WARF also give you the option to add and save target individually and perform different scans on them.
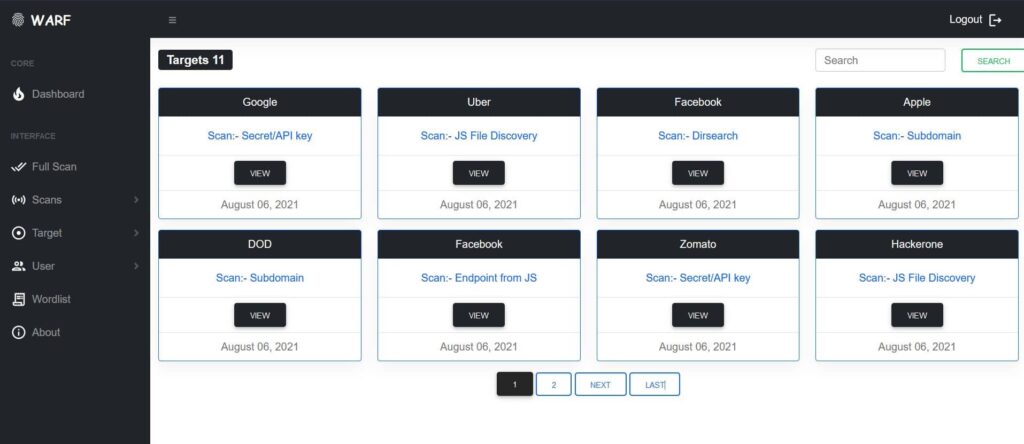
With a Dashboard, you will quickly get the metrics of your activity. WARF confined all your targets together and provide you with a clean and efficient way to search them down with their names.
- Subdomain Enumeration
- Directory BruteForce
- Gather Wayback URLs
- Gather JavaScript URLs
- Extract links from JS files
- Extract API/Secret Keys from JS files
- Supports Background Scan
Username: demo
Password: demopass
⚠️ Since Heroku apps run in a lightweight container called dynos, so any changes to the filesystem while the dyno is running only last until that dyno is shut down or restarted. This operation causes the saved scan results to get deleted from the server and hence you won’t be able to see the saved results. Due to this limitation of file storage, the live version of app deployed in Heroku is not stable and might throw errors while performing some operations.
Screenshots
FullScan

Subdomain Enumeration

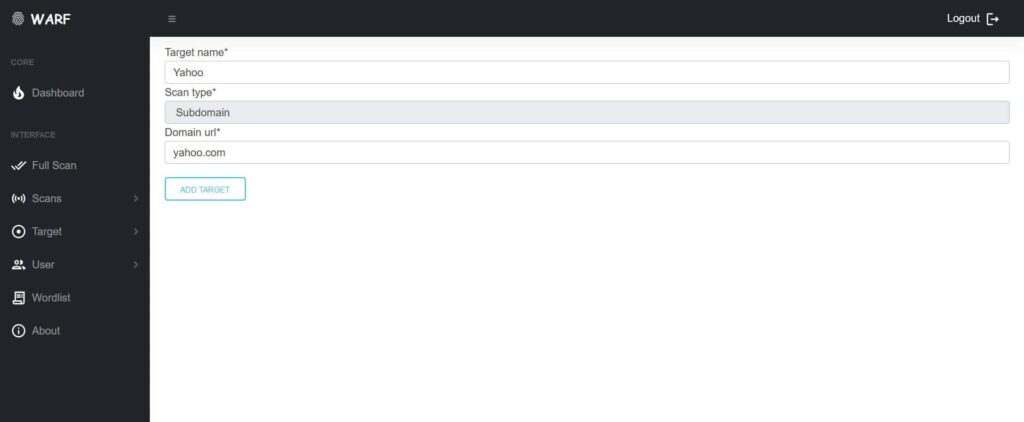
Add Target

View Target

View Details

View Result

Installation
You can install WARF in two ways:-
By creating a python virtual environment and git cloning the repository.
- Create a virtualenv:
$ python3 -m venv <virtual env path>- Activate the virtualenv you have just created:
$ source <virtual env path>/bin/activate- Clone this repository:
$ git clone https://github.com/iamnihal/warf.git- Install the requirements:
$ pip install -r requirements.txt- Apply migrations:
$ python manage.py migrateRun the server:
$ python manage.py runserverand load the app at http://127.0.0.1:8000
Using Docker
If you don’t have Docker installed on your system, you can follow up with the official Docker installation guide.
- Start by cloning the repository:
$ git clone https://github.com/iamnihal/warf.git- Build the Docker image:
$ docker build -t warf .- Build and run Docker container:
$ docker run --name warf -d -p 8000:8000 warfand now your app is ready to launch at http://127.0.0.1:8000
⚠️ Warning:- Change SECRET_KEY in settings.py for the security purpose. To generate your own SECRET_KEY, use this:-
python -c "import secrets; print(secrets.token_urlsafe())"warf (this link opens in a new window) by iamnihal (this link opens in a new window)
WARF is a Web Application Reconnaissance Framework that helps to gather information about the target.

